
If you’ve ever fixed a broken PC, rescued lost files, or wiped a stubborn virus, chances are you’ve heard about MediCat. It’s like a Swiss Army knife for computers—compact, powerful, and ridiculously useful. Installing MediCat on a ZIP drive might sound a bit old-school, but trust me, it still gets the job done when done right.
Let’s walk through everything step by step, no jargon overload, no guesswork—just clear instructions that actually work.
What Is MediCat USB Toolkit?
MediCat USB Toolkit is a multi-boot diagnostic and repair environment based on Windows PE and Linux utilities. It packs tools for:
- Disk partitioning
- Virus removal
- Data recovery
- Password resetting
- Hardware diagnostics
Think of it as a digital emergency kit you can carry in your pocket.
Why MediCat Is Popular Among Technicians
Why do IT pros love MediCat? Simple.
- One drive, dozens of tools
- Works even when Windows refuses to boot
- Constantly updated by the community
It saves time, effort, and sometimes your sanity.
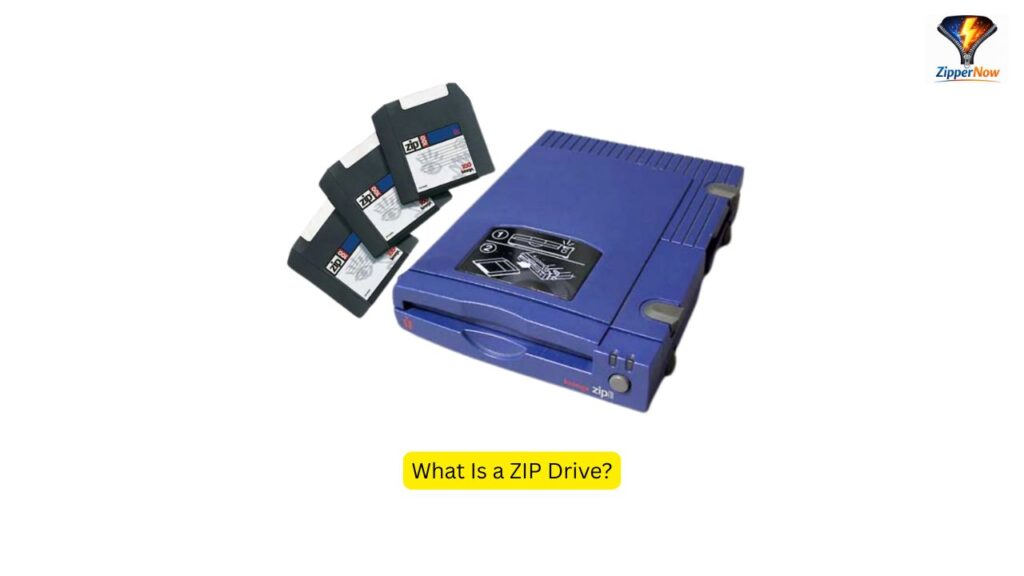
Understanding ZIP Drives
What Is a ZIP Drive?
A ZIP drive is a removable storage device, originally popular before modern USB flash drives took over. Some systems still treat ZIP drives differently in the BIOS, which can actually improve boot compatibility on older machines.
ZIP Drive vs USB Flash Drive
Here’s the quick comparison:
- ZIP Drive: Older tech, sometimes better legacy support
- USB Flash Drive: Faster, more common, higher capacity
Is a ZIP Drive Suitable for MediCat?
Yes—as long as:
- It has enough storage (minimum 16GB recommended)
- Your system BIOS recognizes it as bootable
Not ideal, but absolutely doable.
System Requirements Before Installing MediCat
Hardware Requirements
- ZIP drive: 16GB or more (32GB recommended)
- A working PC
- Basic BIOS access
Software Requirements
- Windows 7/8/10/11
- Extraction software (7-Zip or WinRAR)
Supported Operating Systems
- Windows-based installation systems only
(Mac and Linux require extra steps)
Things You Need Before You Start
Required Files and Tools
- MediCat USB Toolkit ISO or ZIP
- ZIP extraction software
- Administrator access on your PC
Recommended ZIP Drive Capacity
- Minimum: 16GB
- Ideal: 32GB or more
Internet and Storage Considerations
MediCat files are large. Make sure:
- Stable internet
- At least 20GB free disk space
Downloading MediCat USB Toolkit
Official Sources to Download MediCat
Always download MediCat from trusted community sources or official repositories to avoid malware.
Choosing the Right MediCat Version
- Full version: More tools, larger size
- Lite version: Faster, fewer tools
Verifying File Integrity
Check checksums if available. One corrupted file can ruin the whole setup.
Preparing the ZIP Drive
Backing Up Existing Data
Formatting will erase everything. Back up first—no regrets later.
Formatting the ZIP Drive
- File System: NTFS or FAT32
- Allocation unit: Default
- Quick format: Enabled
Best File System for MediCat
- FAT32 for maximum compatibility
- NTFS for large files
Installing MediCat on a ZIP Drive
Extracting MediCat Files
Right-click the MediCat archive → Extract Here.
Using the MediCat Installer
- Run the MediCat installer as Administrator
- Select your ZIP drive carefully
- Click Install and wait
Selecting the ZIP Drive Correctly
Double-check the drive letter. One wrong click = data loss.
Making the ZIP Drive Bootable
BIOS vs UEFI Boot Modes
- Legacy BIOS: Easier with ZIP drives
- UEFI: May need Secure Boot disabled
Configuring Boot Settings
- Enter BIOS (F2, DEL, ESC)
- Set ZIP drive as first boot device
Secure Boot Considerations
Disable Secure Boot if MediCat doesn’t load.
Testing MediCat on the ZIP Drive
Booting from the ZIP Drive
Restart → Select Boot Menu → Choose ZIP drive.
Common Boot Errors and Fixes
- Black screen? Reformat and reinstall
- Drive not showing? Try another USB port
How to Confirm Successful Installation
If you see the MediCat menu—you’re golden.
Troubleshooting Common Problems
MediCat Not Booting
- Wrong file system
- Secure Boot enabled
ZIP Drive Not Detected
- BIOS incompatibility
- Faulty drive
Corrupted Files Issues
Re-download and reinstall from scratch.
Tips for Better Performance
Speed Optimization Tips
ZIP drives are slower—be patient.
Keeping MediCat Updated
Update periodically for new tools and fixes.
Using External Tools with MediCat
You can add portable apps manually.
Advantages of Installing MediCat on a ZIP Drive
Portability and Convenience
Carry your repair lab anywhere.
Multi-Tool Environment
One drive, endless solutions.
Cost-Effective Solution
No expensive software licenses needed.
Disadvantages and Limitations
Speed Limitations
ZIP drives aren’t speed demons.
Compatibility Issues
Some modern systems may not cooperate.
Storage Constraints
Limited compared to modern USBs.
Safety and Legal Considerations
Using MediCat Responsibly
Use it only on systems you own or have permission to access.
Copyright and Licensing Notes
Some tools may have separate licenses.
Best Practices for Ethical Use
Respect privacy. Always.
Read also:-
- How Many Zips in a QP? A Complete Breakdown Explained Simply
- Can You Zip a Bunkr Album From the Site?
Conclusion:-
Installing MediCat on a ZIP drive may feel like fitting a jet engine onto a bicycle—but it works if done right. While not the fastest or most modern option, it’s still a reliable, portable solution for diagnostics and repair. Follow each step carefully, and you’ll have a powerful recovery toolkit ready whenever disaster strikes.
Frequently Asked Questions (FAQs)
1. Can I use MediCat on an old ZIP drive?
Yes, if it meets the storage and boot requirements.
2. Is MediCat free to use?
MediCat itself is free, but some included tools may have licenses.
3. Why isn’t my ZIP drive showing in BIOS?
Try legacy mode or a different USB port.
4. Can I update MediCat after installation?
Yes, updates can be applied manually.
5. Is a ZIP drive better than a USB flash drive for MediCat?
Not better—just an alternative for specific cases.